
After getting some nice DNG exporting code to work with libdng in the last post I decided to go mess with auto white-balancing again on the Librem 5.
I got the Megapixels 2.x codebase to the point where it smoothly displays the camera feed on the Librem 5 and the PinePhone Pro. One of the things that Just Worked(tm) on the original PinePhone is the auto white-balance correction of the rear camera. This has also not worked on the front camera on that device and the results of lacking AWB code is very obvious: the pictures are very green.

This was very easy on the rear camera of the PinePhone. The camera module inside the phone can automatically do white-balance corrections by having an AWB algorithm running on the 8051 core inside the sensor which adjusts the analog gain of the camera. The only thing that Megapixels does on the PinePhone is turning that feature on and it just works. The front camera of the PinePhone should have a similar feature but it does not work due to the state of the Linux driver for that sensor.
For the PinePhone Pro and the Librem 5 (and most other devices) the white-balancing is a lot harder to deal with. The sensor does not have any automatic way of dealing with this and it has to be done on the CPU side. For this there's also two options:
- Get the unbalanced camera feed and correct those frames in software while displaying them and storing the correction factors in the DNG files for the pictures that have been taken.
- Send the corrections back to the sensor instead so the camera feed is already balanced. This should lead to higher quality pictures because the use of the analog to digital converter in the sensor is more optimal. It's also harder because now there's latency between changing the gain and receiving the corrected data.
But the nice thing of doing hardware support on multiple platforms is that I have to support both these cases :(
In case of the Librem 5 I'm implementing the first option since the sensor driver for the rear camera on that device does not implement the necessary controls to do the second option, it's also a bit easier to get working right.
The Algorithm™
There are many ways to actually implement a white-balance algorithm. I'll be going with the most simple one. The gray-world algorithm.
This algorithm works on the assumption that if you average out all the colors in your picture you'd get something that's roughly grey.

Intuitively you would think that nothing is ever that nicely balanced or that colorful walls for example would skew the results massively. But as you can see in the demonstration above the more you start to blur the picture the less saturated it will become. This works for a surprising amount of pictures.
To calculate the white-balance correction for a picture it's not blurring the picture though as in the demonstration above. The way it's calculated is by taking the average of all the pixels in the picture and then using the inverse of that result to set the gain.
Another thing that's different for white-balancing is that it's the first step in the color processing pipeline, it should not be ran on the final picture like this example but on the raw color values from the sensor since there it would be the closest in the pipeline to the ADC gain applied in the sensor.
The Megapixels implementation
taking the average of a full raw frame is not very fast. It also complicates the internal Megapixels code a lot to do extra image processing on the raw frame stage of the code. That's why in Megapixels I'm not running the white-balance code on the raw frames. It's instead being run on the preview feed shown to the user before taking the picture since that way it takes advantage of the GPU debayering and scaling of the input data.
To make this work the libmegapixels code does the average of an entire processed RAW frame to get my average R, G and B values. After running this average the code is no longer dealing with a lot of data anymore so it's a lot easier to write quick code. To fix the code the inverse of the color matrix is ran to get a value that's close to what the average would've been of the raw data before scaling it and doing the preview color corrections.
The result of that code gives a new R, G and B value that represent the balance of the color of the picture, the new gain for the color channels is then calculated as 1/R and then normalized so the gain for the green channel is always 1.0. This is because on the sensors there's only a control for the red and blue gains.
Except that on the Librem 5 there's no controls for the red and blue gains at all, so in that case the new gains are fed into the GPU shader that calculates the preview again where it will be applied as gains right after the debayering step.
The white-balance in the DNG output
With the two scenarios above there's also two cases for the DNG exporting. Either the RAW data in the DNG is already balanced or it's completely unbalanced. Luckily the DNG specification has me covered!
When the raw image data is completely unbalanced like it is on most professional cameras the gains for balancing the picture are stored in the AsShotNeutral tag. This tells the DNG developing software the gains the camera used to display the preview and it will be available in the white-balance section of the developing software as "As Shot" or "Camera" white-balance.
In the case where the ADC gains are manipulated to apply the white-balance this doesn't work since the gains written to the AsShotNeutral tag would be 1.0 for all channels. This does produce the correct picture for simple cases except that the whitebalance shown for the image in the editing software would always be 5612K.
Having the wrong whitebalance is not just an issue of metadata neatness though. Practically all the color pipeline calculations after loading the DNG file and applying the RAW white-balance are dependent on the color temperature. The metadata in the DNG stores two color matrices and two correction LUTs. The guidelines for this calibration data is that one of the sets of calibration data is for D65 lighting which is basically outdoors on a cloudy day; pretty blue-ish lighting around 6500k. The second one is for "Standard Illuminant A" which is a reference tungsten light around 2856k. The developing software takes the data for both color temperatures and interpolates between the two to produce the matrices and curves for the color temperature of the white-balanced picture.
To deal with the case where the the sensor already produced white-balanced raw data using the ADC gains the white-balance gains can be written to the AnalogBalance tag. This will be used to invert the white-balance gains in the sensor again before running the rest of the processing pipeline which means the correct color temperature will be used.
So does it work?
Yeah, mostly. It could use a bit of tweaking and the calibration I'm using for the sensor is just wrong.
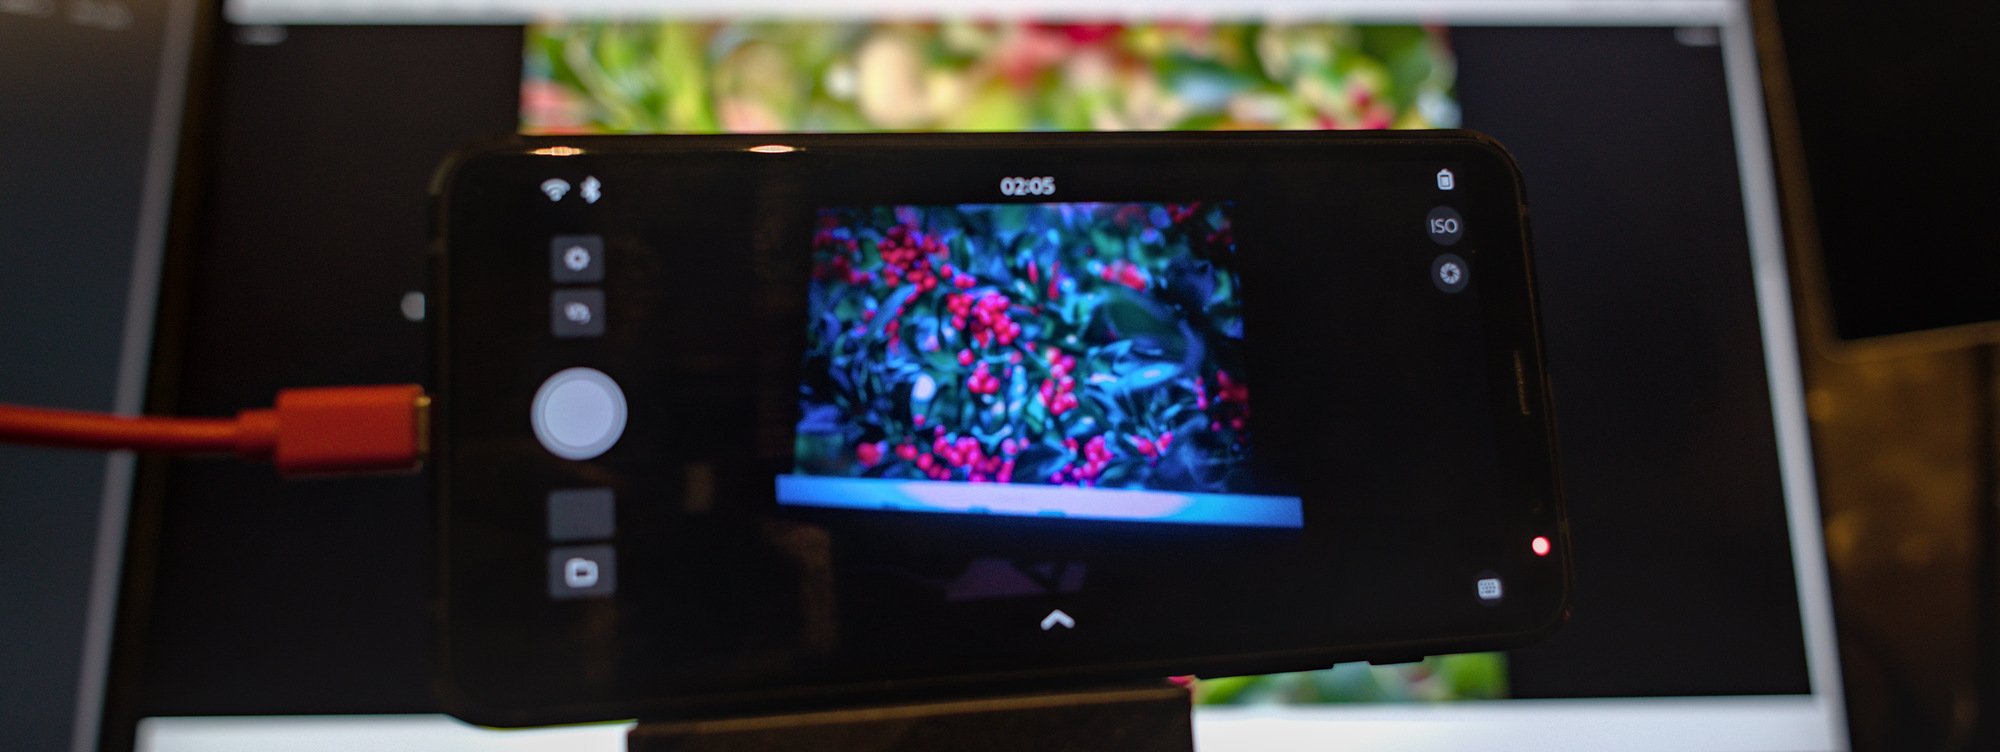
The video here is extremely janky, most likely due to the auto-gain in this test build being completely broken and my code being sloppy. There's a few things that need to be fixed here aside from figuring out more preformance regressions:
- The whitebalance code stops working when there's not enough light and it jumps to the full green picture. At this point it should keep holding the old white-balance to make it less jarring.
- There needs to be smoothing applied to the whitebalance changes. It's mostly pretty solid since this doesn't have any latency with sensor adjustments but when the camera moves to the pumpkins you can see it being unstable.
Overall it mostly works though. The performance is a bit more stable when there's daylight. Cameras simply work better when there's more light available. The various sources of artificial light here is also throwing off the camera a lot with a lot of light coming from my monitor and some very poor quality light coming from the room lighting.
The SEGFAULT button
So Megapixels somewhat balances the pictures but the second half of the process is not something I've been able to test yet: storing DNG files with this whitebalance metadata. The Megapixels 1.x codebase had the code for saving the AsShotNeutral and AnalogBalance tags and I've re-implemented that in libdng. The issue is that in the current state of the Megapixels code pressing the shutter button just causes the whole application to segfault.
This segfault occurs somewhere in the interaction with the color profile curves loaded from the calibration .dcp file with the libtiff library when saving though libdng. This being 3 threads deep into the Megapixels codebase makes this a bit annoying to debug so I decided I needed to yak-shave this a bit further and add more tooling to the libdng codebase...
The mergedng tool
My solution for making this easier to debug is adding an utility in libdng that actually uses the feature to load a calibration file to append the curves to the final picture. Due to me just not stopping to write code I've implemented basic DNG reading support for this in libdng and as frontend the mergedng utility.
The functionality for this tool is pretty simple. It reads an input DNG file and takes the picture data and metadata from that. It then takes a .dcp file as second argument which provides the calibration curves for the camera and it then merges those TIFF tags and writes out a new DNG file. This is an utility I needed anyway since I've been searching for it, it makes it easy to "upgrade" pictures taken with earlier versions of Megapixels with new calibration data from more recent .dcp files.
Writing the code for this functionality was pretty straightforward. The .dcp loading and appending code already existed in the libdng codebase since that's the code which already causes the SEGFAULT in Megapixels when taking a picture. The extra added code in libdng is the new functions for reading a DNG file and taking that image metadata for writing a new picture.
After implementing all this and adding some unit tests for the DCP loading code I've come to the realization that... it just works...
In this simplified codebase everything touching the data just simply works so my original crashing issue in Megapixels is somewhere unrelated. This is where I'm at now and where I've decided to write a blog post instead of diving deep into the Megapixels codebase again :)
Development Funding
The current developments of Megapixels are funded by... You! The end-users. It takes a lot of time and a lot of weird expertice to make Linux cameras work and I've not been able to do it without your support.
The donations are being used for the occasional hardware required for Megapixels development (Like a nice Standard Illuminant A for calibration) and the various other FOSS applications I develop for the Linux ecosystem. Every single bit helps to not do all this work entirely for free.
Donations